Commercial security cameras Milwaukee: placement that actually stops blind spots
Seeing your whole site should feel simple. Yet many systems miss key moments because cameras sit too high, face the wrong way, or fight bad light. This guide shows how to place commercial security cameras Milwaukee businesses can trust—so you capture faces, license plates, and useful context without wasting storage. The steps are plain, complete, and easy to follow.
RedBird Technology Solutions serves Milwaukee and nearby cities. For commercial installations, our team travels up to 45 miles from the city for new projects.
Why placement matters (and how it saves money)
A great camera in the wrong spot still fails. When angles are steep or lighting shifts quickly, videos lose the details you need. Because of that, teams spend hours searching clips and still come up short. Good placement solves most of this before the first hole is drilled.
Think first about the job each camera must do. Do you want a face, a plate, or a wide scene? After you decide, you can choose the mount height, lens, and lighting that match the job. With a simple plan, commercial security cameras Milwaukee companies get cleaner footage, fewer false alerts, and less strain on storage.
The three views every site needs: faces, plates, and context
Strong systems mix three view types. Together they tell the full story—who, what, and how.
- Face identification view
Place this near a natural choke point: a door, vestibule, or turnstile. Set the camera slightly above eye level and angle it down 10–15 degrees. Tight framing keeps faces sharp even when people wear hats or hoods. - License plate view
Choose a steady lane such as a gate or speed bump. Use a narrow field of view and add steady, neutral lighting. Because plates are small and reflective, avoid aiming straight into headlights and keep the lens clean. - Context view
Capture the bigger scene so you can track where people came from and where they went. Wide shots work for lots, aisles, and open rooms. Later, when you review video, the context view helps you jump between cameras without losing the story.
Build your layout around these three views and your commercial security cameras Milwaukee deployment will feel complete rather than patchy.
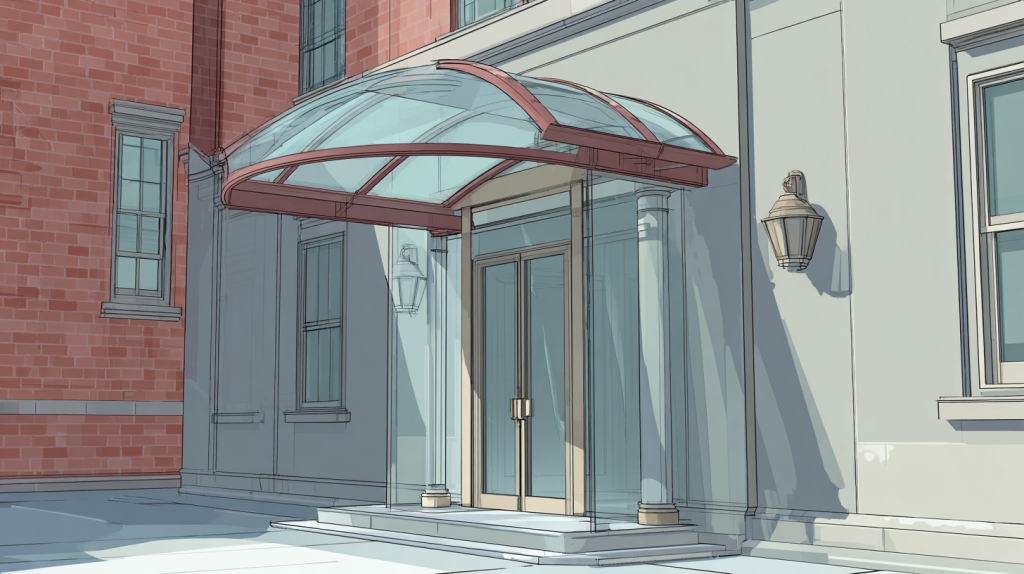
Entrances and exits: start with the doors
Most incidents pass through a door. Because of that, entrances and exits deserve your first cameras.
- Front door: Mount around 8–10 feet high and tilt slightly toward the inside. This position avoids harsh window glare while giving you clear faces as people enter.
- Back door and loading dock: Instead of aiming straight at the opening, shift to the side. Cross-light reduces silhouettes when the sun hits the threshold.
- Vestibules: Use a tight lens for faces and a second wide shot for context. Doors open and close quickly here, so test the timing of motion detection.
- Overhead canopies: If a canopy blocks light, add a small neutral LED fill so faces stay bright at all hours.
Finally, post recording notices at the door. Clear signs help with behavior and also set a respectful tone for visitors and staff.
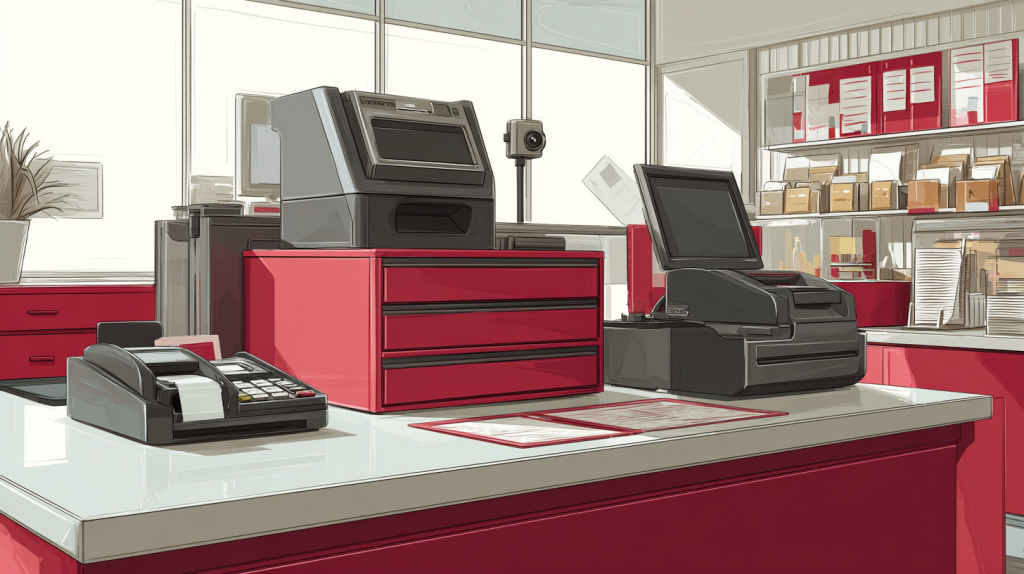
Cash wraps and points of sale: design for detail
Money moves fast at the counter. As a result, you need two clean angles.
- A camera behind and slightly above the cashier shows bills, receipts, and the customer’s face.
- A second camera in front of the counter captures the customer’s view of the interaction.
- Keep the lens tight (a 2.8–12 mm varifocal works well) and frame the entire counter.
- Turn on WDR (wide dynamic range) when bright windows sit behind the customer.
This pair reduces blind spots during rush hours and gives managers usable footage for disputes. When tuned correctly, commercial security cameras Milwaukee retailers can protect staff and speed up incident reviews.
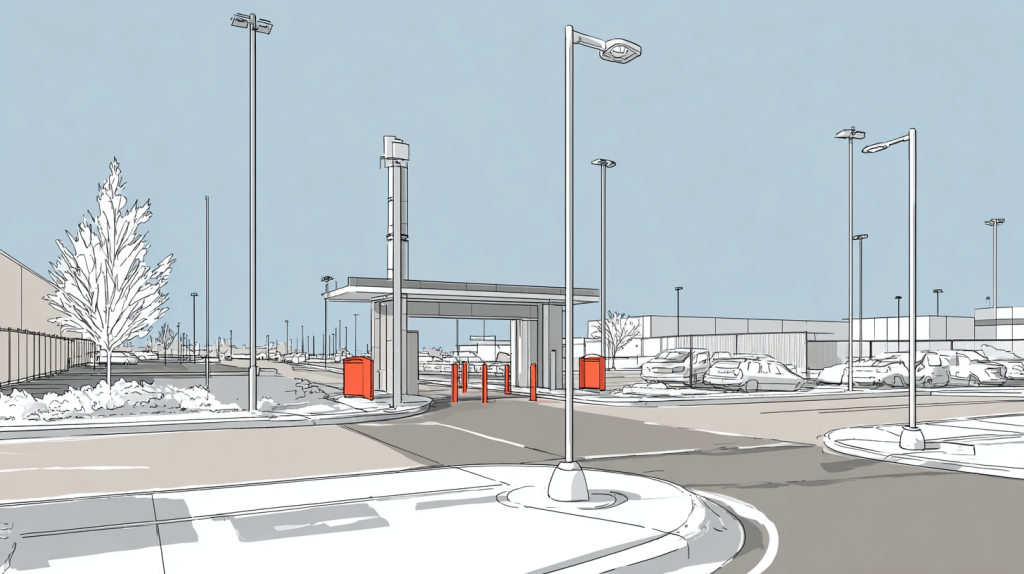
Parking lots and drive lanes: map paths first
Large outdoor areas swallow details unless you plan carefully. Start by drawing the paths cars and people follow. Then split the lot into zones.
- Perimeter coverage shows movement in and out of the property.
- Choke points capture plates: entrance lanes, gates, and speed bumps.
- Walkway views support slip, trip, and fall reports as well as after-hours movement.
- Light poles offer strong, even mounting points that reduce glare.
Night scenes require care. Use IR plus steady 5000K LED lighting where possible. Avoid harsh spotlights that bloom across wet pavement or snow. During Wisconsin winters, angle away from ground glare and add sunshades to domes so snow and rain don’t streak across the lens.
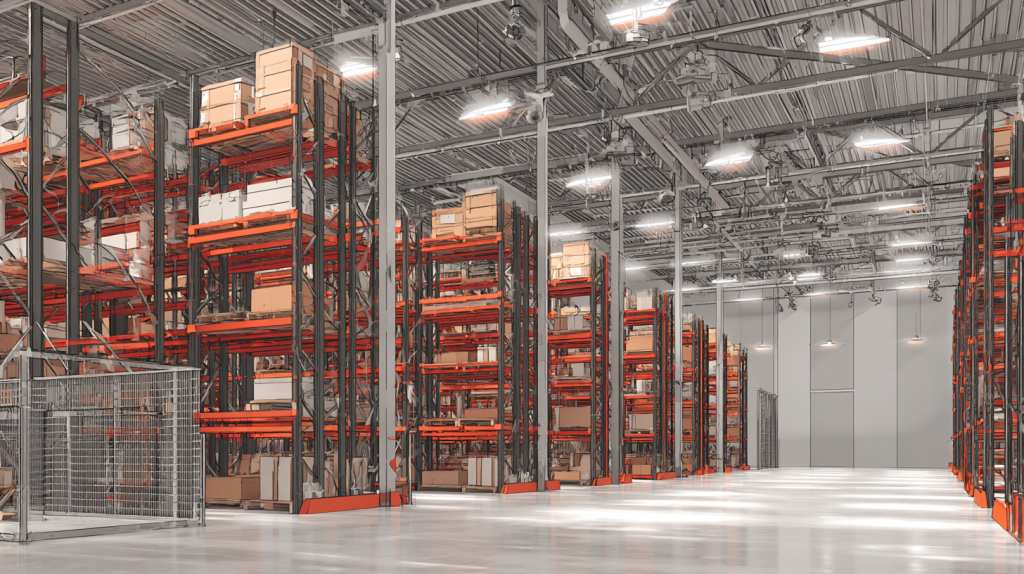
Warehouses and back rooms: beat the blocks
Shelves, racks, and forklifts love to hide action. To stay ahead of that, mount above the aisles and aim down each run.
- Down-aisle views follow people and pallets from end to end.
- Cross-aisle coverage catches movement between rows and protects side doors.
- High-value cage or tool crib? Add a tight face camera at the gate and a second wide view from the corner.
- Staging and packing deserve broad context shots so you can track who touched which pallet and when.
Because forklifts shake the floor, choose solid mounts and protect cable runs in conduit. That way, vibration won’t loosen fittings over time.
Hallways and stairwells: use the frame wisely
Narrow spaces are a gift when you set them up right.
- Off-center mounting stretches the hall in the frame so you see farther.
- Corridor mode rotates the image to a tall format, which fills the frame with the hallway instead of blank walls.
- Extra corners need their own cameras; otherwise turns create blind pockets.
- In stairwells, aim slightly down the flight so faces remain visible across landings.
Lighting changes often in these areas, so pick models with strong low-light performance and fast shutter options.
Break rooms and common spaces: protect people, respect privacy
Staff need to feel comfortable. Focus on doors and shared resources rather than seating.
- Aim at entry points, refrigerators, storerooms, and vending areas.
- Avoid areas where a person expects privacy.
- Keep views wide and avoid zooming on personal items.
If you’re unsure about a particular spot, write a short policy and check it with counsel. Clear rules reduce confusion later.
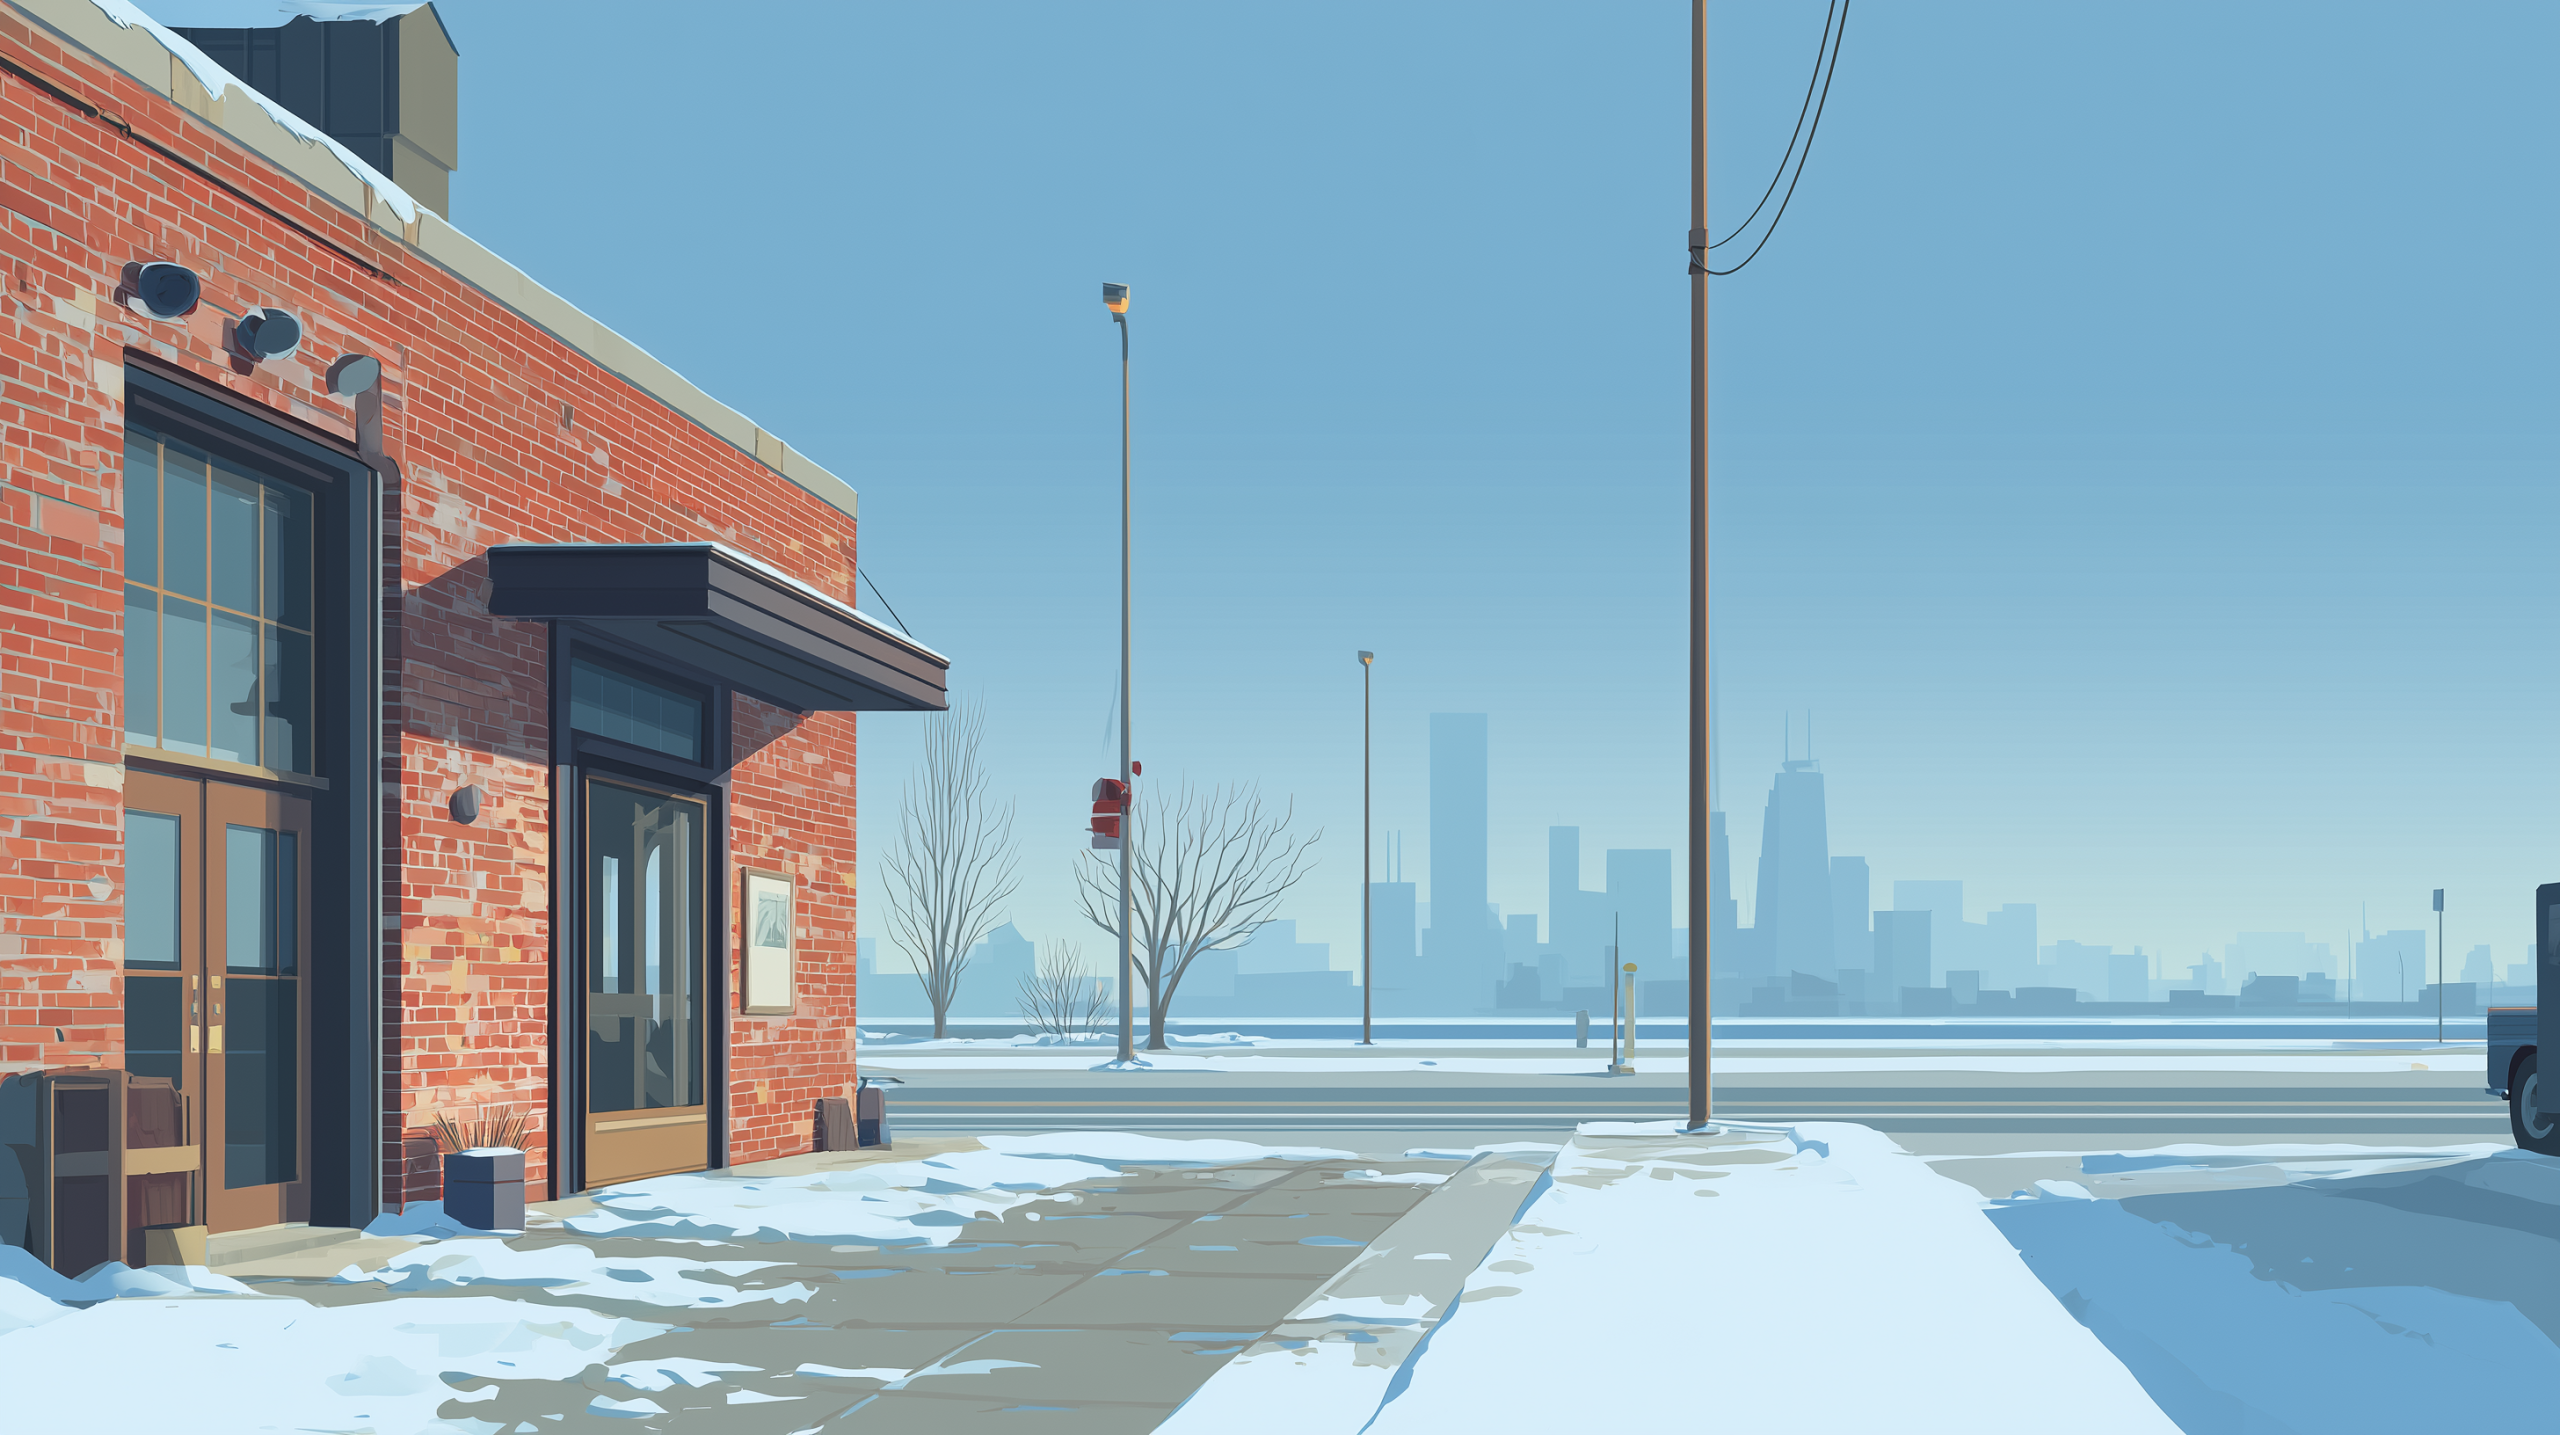
Outdoor storefronts and alleys: build for Wisconsin weather
Freezing rain and salt can end a camera’s life early. Choosing the right hardware keeps your system reliable.
- IP66/67 housings with heaters or blowers fight ice and fog.
- Sunshades or dome hoods reduce snow glare, rain streaks, and summer flare.
- Sealed conduit and drip loops stop water from running into junction boxes.
- Long runs benefit from PoE extenders or local power to prevent voltage drop.
Taking these steps helps commercial security cameras Milwaukee installs survive through freeze, thaw, and lake-effect snow.
Smart analytics that reduce noise
Modern cameras offer a lot of features. Still, the best results come from turning on just what the scene needs.
- Motion zones block swaying trees and street traffic.
- Line-cross rules watch doors, docks, and the path through a gate.
- Object left/removed helps with pallets at staging areas.
- People counting aids retail staffing plans.
- Vehicle detection separates car movement from foot traffic.
Start simple, measure the alert noise for a week, and then add one more rule. This step-by-step approach keeps your team from drowning in alerts.
Storage and retention: plan before you hang a single camera
Video has value only if you can find it later. Consequently, storage should be sized before installation.
- Decide on retention by area. Entrances may need 30–45 days; POS and high-risk zones often need 60–90.
- Match frame rate to the job. Faces do well at 15–20 fps. Lot overviews can run at 8–12 fps without losing value.
- Use motion recording in low-traffic zones and continuous where action never stops.
- Keep NVRs on battery-backed power in a locked room, and label them clearly.
- Name cameras in a consistent format (e.g., “FrontDoor_Face,” “Lot_Entrance_Plate”). Good names cut search time.
Multi-site companies often pick hybrid storage: a local NVR for daily work, plus cloud clips for sharing and backup.
Networking and security: treat cameras like IT
Cameras sit on your network, so they need the same care as laptops and servers.
- Place them on a separate VLAN away from office PCs.
- Close open ports on the firewall; use a VPN or secure cloud tunnel for remote viewing.
- Change default passwords on day one and store them in a password manager.
- Update firmware on a schedule and keep a change log.
- Apply role-based access so only the right people can export video.
When one partner manages both the network and the cameras, troubleshooting gets faster and accountability stays clear.
Lighting: fix the picture before you buy bigger cameras
Light makes or breaks your image. Therefore, walk the site at noon, sunset, and night before you finalize placement.
- Aim with the light, not straight into it.
- Use neutral 5000K LEDs outdoors for true color after dark.
- Add fill light in docks so you don’t get silhouettes.
- For plates, position lighting beside the lane to cut glare.
- If windows sit behind your subject, enable WDR and test again.
Many “blurry camera” complaints disappear once the lighting is corrected.
Privacy, signage, and simple rules
Security should feel professional, not sneaky. A few steps keep trust high.
- Place recording notices at entries and key areas.
- Avoid any place where people expect privacy.
- Write a one-page policy that names who can request footage, who approves exports, and how long video is kept.
- Train managers on the request process and how to handle third-party inquiries.
These habits protect your staff and customers while keeping your company compliant with internal rules.
Common mistakes that create blind spots (and how to avoid them)
Most problems show up again and again. Fortunately, they’re easy to fix.
- Mounting too high: steep angles hide faces; drop to 8–10 feet where possible.
- Aiming at glass: reflections block views; shift the camera or add a polarizing hood.
- One wide camera for a huge room: add a second tight view near the action.
- Skipping night tests: review at dusk and after dark before signing off.
- Loose or exposed cables: use conduit and strain relief to prevent early failure.
- Default credentials left in place: change them and store in a protected list.
- No maintenance plan: dirty domes, loose brackets, and old firmware degrade video quality.
A short monthly checklist prevents most surprises.
Milwaukee examples: sample layouts by business type
Retail and restaurants (Downtown, Bay View, Shorewood)
- Front door pair: one face view and one wide lobby view.
- POS pair: behind-the-cashier detail plus a front-facing context camera.
- Back door: cross-angle to reduce backlight; add a lane view toward dumpsters.
- Stock room: door-focused view that also captures the primary shelf aisle.
Warehouses and logistics (Menomonee Falls, Oak Creek, West Allis)
- Gate lane: plate capture plus an overhead context shot.
- Dock doors: side angles with fill light so people don’t silhouette.
- Aisles: down-aisle views every other row, plus cross-aisle coverage.
- High-value cage: tight face view at the gate along with a corner context shot.
Clinics and offices (Wauwatosa, Greenfield, Franklin)
- Lobby: wide context plus a door face shot.
- Hallways: corridor mode to remove dead zones; cameras at each corner.
- Records or server room: door camera with a second view of work surfaces.
- Parking: lane cameras at entry/exit for plates; perimeter view for context.
These templates give commercial security cameras Milwaukee projects a strong starting point, which we refine during the site walk.
Maintenance that keeps images clear
Little tasks, done on time, protect your investment.
- Clean domes and lenses with a soft cloth each month.
- Inspect mounts and seals after big storms or hard freezes.
- Review system alerts and storage health weekly.
- Save one test clip per quarter from each critical camera.
- Apply firmware updates on a set schedule and record the change.
Because maintenance is simple, assign it and track it the same way you track any other safety task.
Quick placement checklist (print this)
- ☐ Doors covered with face and context views
- ☐ POS protected by two angles
- ☐ Lot split into perimeter, choke-point, and walkway zones
- ☐ Warehouse aisles have down-aisle and cross-aisle coverage
- ☐ Corridors use corridor mode; corners get extra cameras
- ☐ Lighting tested at day, dusk, and night
- ☐ Cameras on a VLAN; no open ports; strong, unique passwords
- ☐ Retention and frame rates matched to risk by area
- ☐ Signage posted; simple privacy policy in place
- ☐ Monthly maintenance scheduled and logged
How RedBird designs and supports your system
1) Walk and mark
Together we tour the site and mark doors, lanes, aisles, and risky corners. We list the exact goals—faces, plates, and context—for each location.
2) Design and quote
Lens choices, mounts, conduit routes, lighting, and NVR storage go into a clear diagram. You review sample views before installation begins.
3) Install and secure
Our team mounts cameras, sets angles, and hardens the network. We add VLANs, strong passwords, safe remote access, and clean labels.
4) Test and train
Day and night tests confirm the picture. Motion zones and analytics get tuned to cut noise. Managers learn how to find, export, and share clips correctly.
5) Support and improve
Firmware stays current, alerts get reviewed, and quarterly check-ins guide upgrades as your business grows.
Service area
RedBird serves Milwaukee, Wauwatosa, West Allis, Glendale, Shorewood, Whitefish Bay, Brookfield, Menomonee Falls, Oak Creek, Greenfield, Franklin, New Berlin, Mequon, Cedarburg, Grafton, Waukesha, Pewaukee, Racine, and Kenosha. For commercial installations, we drive up to 45 miles from Milwaukee.
If your site sits near the edge of that radius, reach out and we’ll talk through options.
FAQ for decision makers
What height works best for door cameras?
Usually 8–10 feet. That height keeps faces clear without a steep angle.
Do I need 4K everywhere?
No. Use 4K for tight detail shots and 1080p for wide context views. Balance frame rates and resolution to match storage goals.
Can plates be captured at night?
Yes. A dedicated plate view, steady lane lighting, and the right shutter settings make night capture reliable.
Is remote viewing safe?
It is safe when open ports are closed, a VPN or secure cloud tunnel is used, and passwords are strong and unique.How long should video be kept?
Most sites keep 30–60 days. High-risk areas may need longer. We match retention to your policy and storage budget.